Today, I’ll show you how to set up a blog using Hugo and deploy it on GitHub Pages. I’ll be working on a MacBook 💻 (Apple silicon).
Why Hugo?
- No server-side code: Hugo builds purely static files, so there is no need to manage any backend infrastructure.
- Fast to render: Static sites are quick to render because they are pre-built into HTML before deployment.
- No dynamic content: While this means no interactive elements like forms or real-time data updates, it also simplifies maintenance.
- No database: Content is stored as files, not in a database, which reduces complexity and overhead.
- Often more secure: Fewer security vulnerabilities as there are no databases or server-side scripts to attack.
- No real-time UI: Hugo sites don’t support real-time updates or interactions without additional tools.
- Content is versioned: With git, all content can be version controlled, providing an easy way to manage changes and rollbacks.
Prerequisites
Before starting, make sure you have Homebrew and Git installed on your MacBook. If you don’t have it, you can install it with the command below:
/bin/bash -c "$(curl -fsSL https://raw.githubusercontent.com/Homebrew/install/HEAD/install.sh)"
To check if Git is already installed, run the following command:
git --version
If Git is not installed, you can install it using Homebrew:
brew install git
Once installed, verify it by running git --version again to ensure everything is set up correctly.
Step 1: Install Hugo
To install Hugo, first you open the terminal and run this code
brew install hugo
Once the installation is complete, verify the installation by checking the Hugo version
hugo version

#and if installed correctly, you should see an output similar to the following
Hugo Static Site Generator v0.74.3/extended darwin/amd64 BuildDate: unknown
Step 2: Create a New Hugo Site
Now that Hugo is installed, you can create your new blog. Navigate to the directory where you’d like to store your blog and create a new site with the command below:
hugo new site <nameOftheSite>
Replace nameOftheSite with your desired name for the blog site.
Step 3: Add a Theme
To give your blog a proper design, you’ll need to add a theme. Hugo has a variety of themes available that you can browse and choose from.
- Go to the Hugo Themes website to browse available themes.
- Once you find a theme you like, click on it.
- On the theme’s page, there will be a “Download” button. When you click this button, you’ll be redirected to the theme’s GitHub repository.
- You should check the
ReadMefile on the GitHub repository for instructions on how to apply the theme.
For example, I used the hugo-theme-stack theme.
First, initialize git in your project directory (ensure you are in the correct directory):
git init
Then, add the theme as a git submodule:
git submodule add https://github.com/CaiJimmy/hugo-theme-stack/ themes/hugo-theme-stack
Now, open the hugo.toml file and configure Hugo to use this theme by adding the following line:
theme = "hugo-theme-stack"
Each theme has different configuration options, so make sure to follow the specific instructions in the theme’s GitHub repository. You can also customize it further based on your needs.
Step 3.1: Creating New Posts
To create a new blog post, you can use the following Hugo command:
hugo new posts/<post-name>.md
This will create a new Markdown file in the content/posts/ directory. You can then edit this file to write your post.
For example:
hugo new posts/my-first-post.md
Step 4: Create a New GitHub Repository
To deploy the site to GitHub Pages, you’ll need to connect it to a GitHub repository.
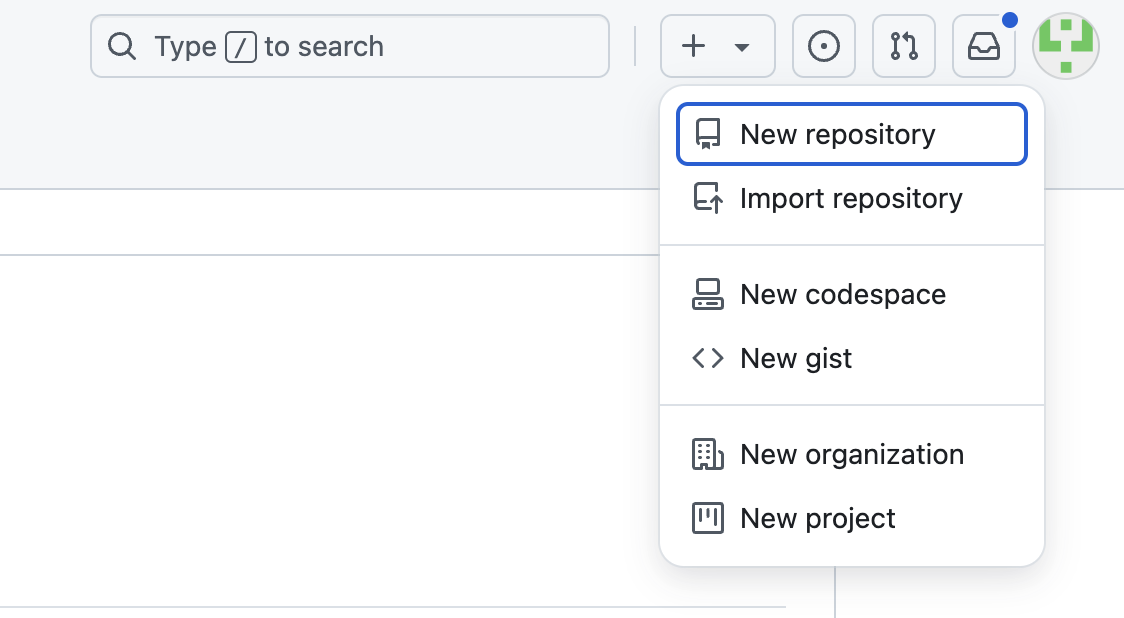
First, create a new repository on your GitHub account.
In my case, I created my repository with the name <username>.github.io and left it public.
Once the repository is created, you’ll see a setup page. Here, you’ll find instructions on how to push your existing files to this repository.
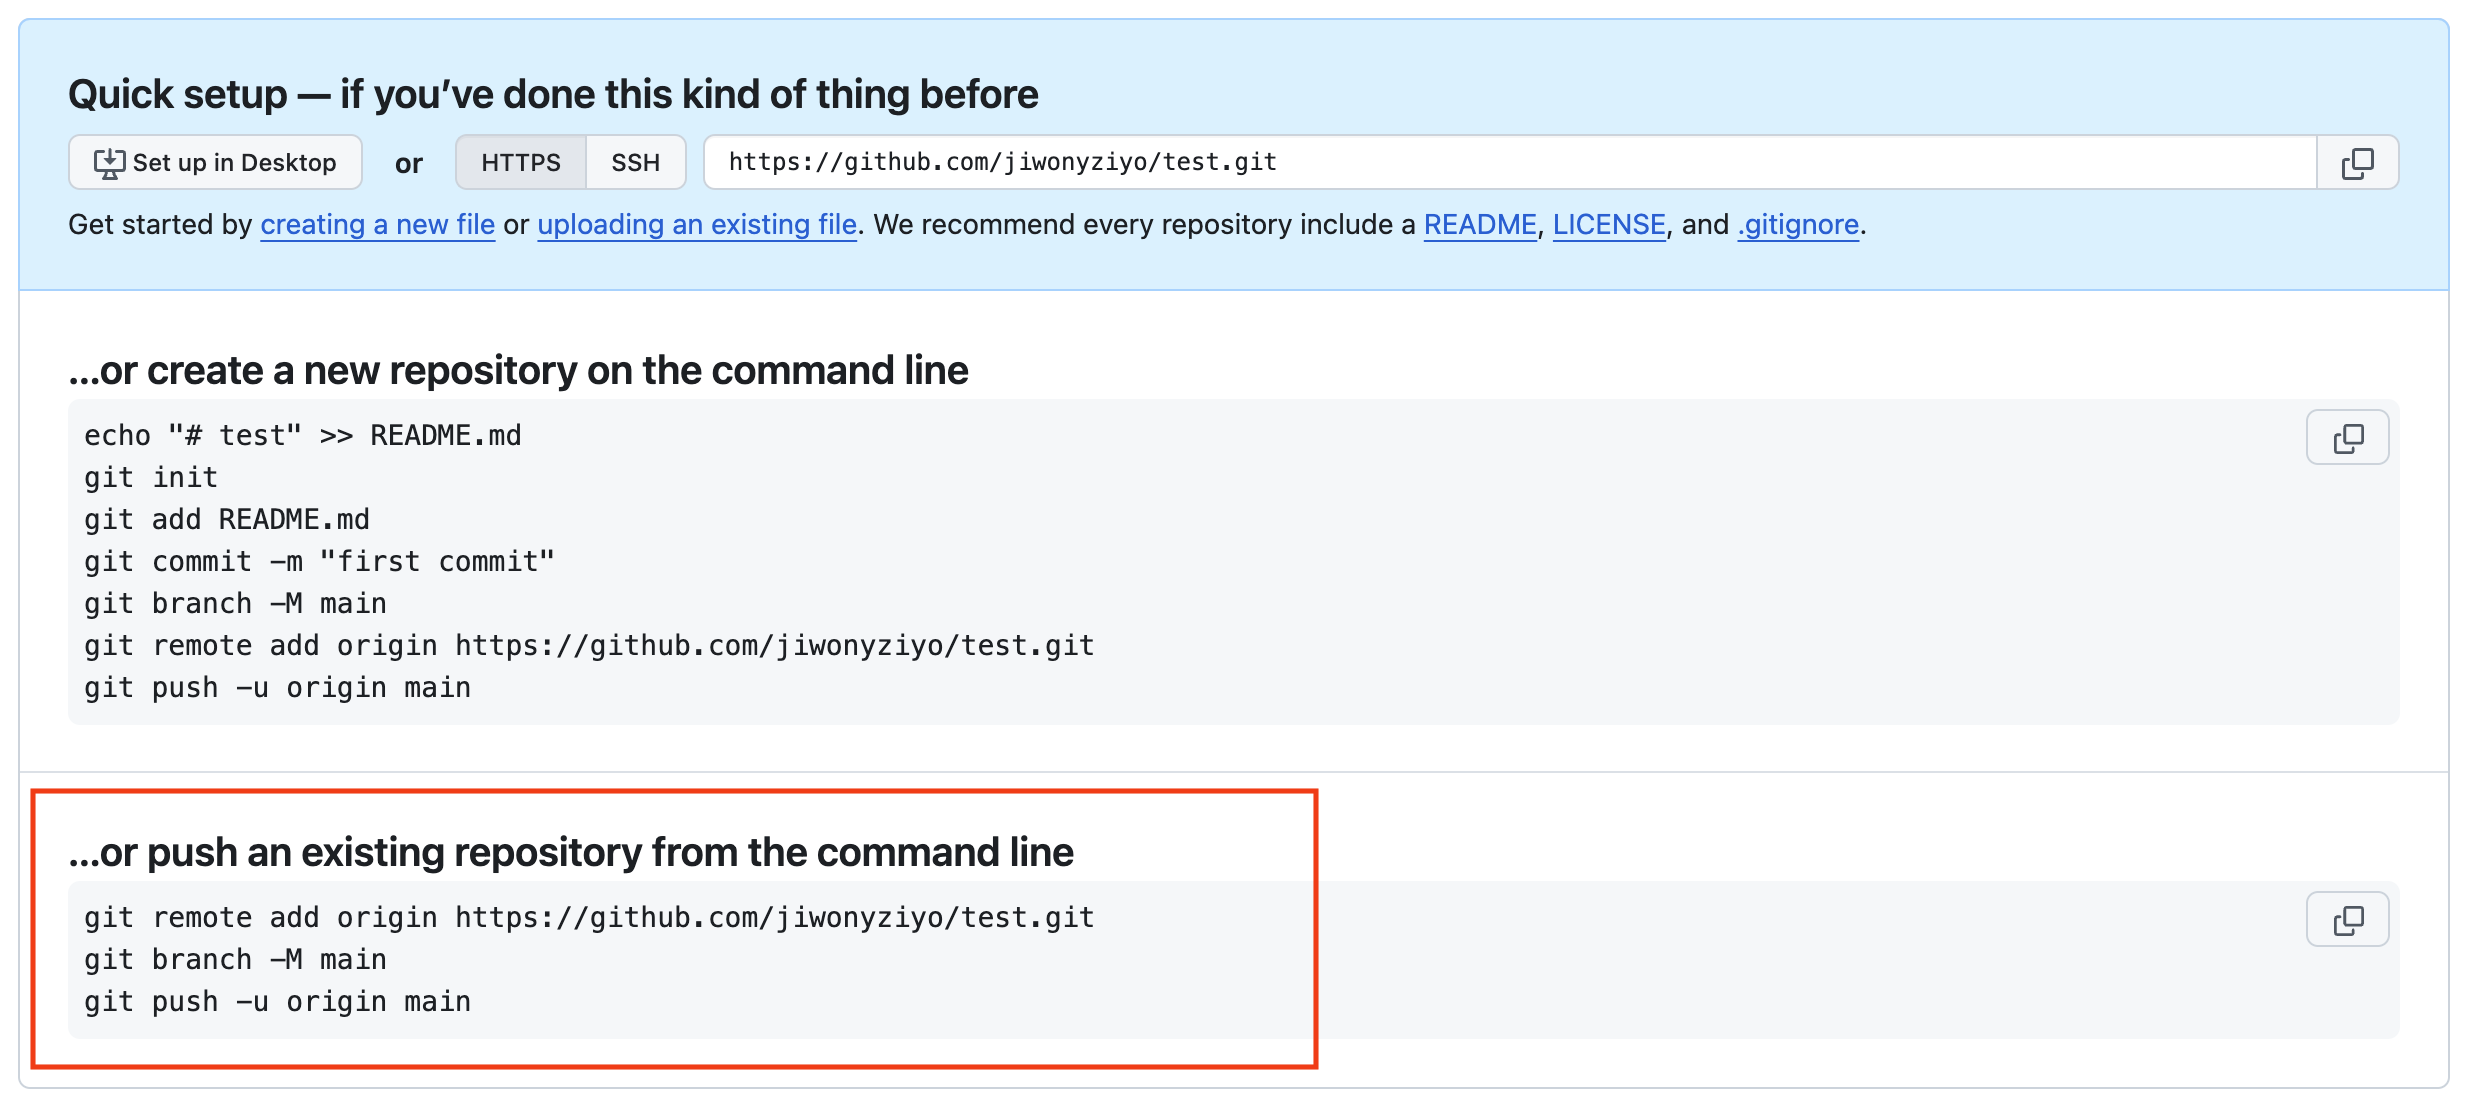
Go back to your terminal and connect your Hugo project to this GitHub repository by following the commands on the setup page (red box).
Step 5: Deploy to GitHub Pages
We’ll use GitHub Actions to automatically build and deploy the Hugo site to GitHub Pages whenever changes are pushed to the main branch.
I followed the steps indicated in the official Hugo documentation: Host on GitHub Pages.
Before you deploy it, you should change the baseURL in the hugo.toml file to your GitHub Pages URL.
For example,
baseURL = "https://jiwonyziyo.github.io/"
Step 6: Access Your Site
Once the GitHub Action finishes running, your blog will be deployed to GitHub Pages. You can check your blog by visiting the URL found in Settings > Pages.
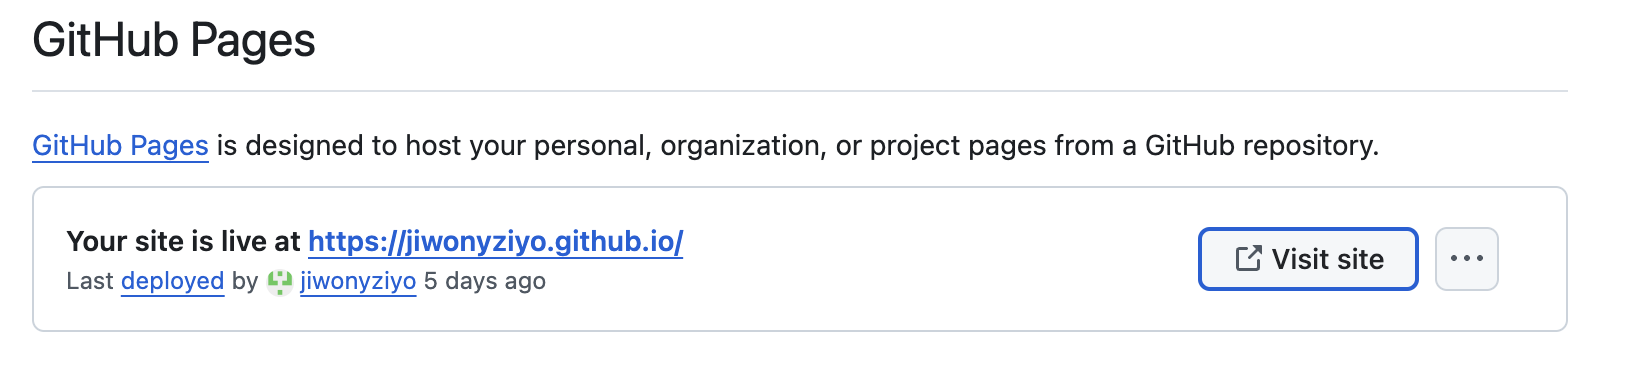
To see the deployment status, you can also go to the Actions tab in your GitHub repository. If everything went well, you’ll see that your site was successfully deployed.
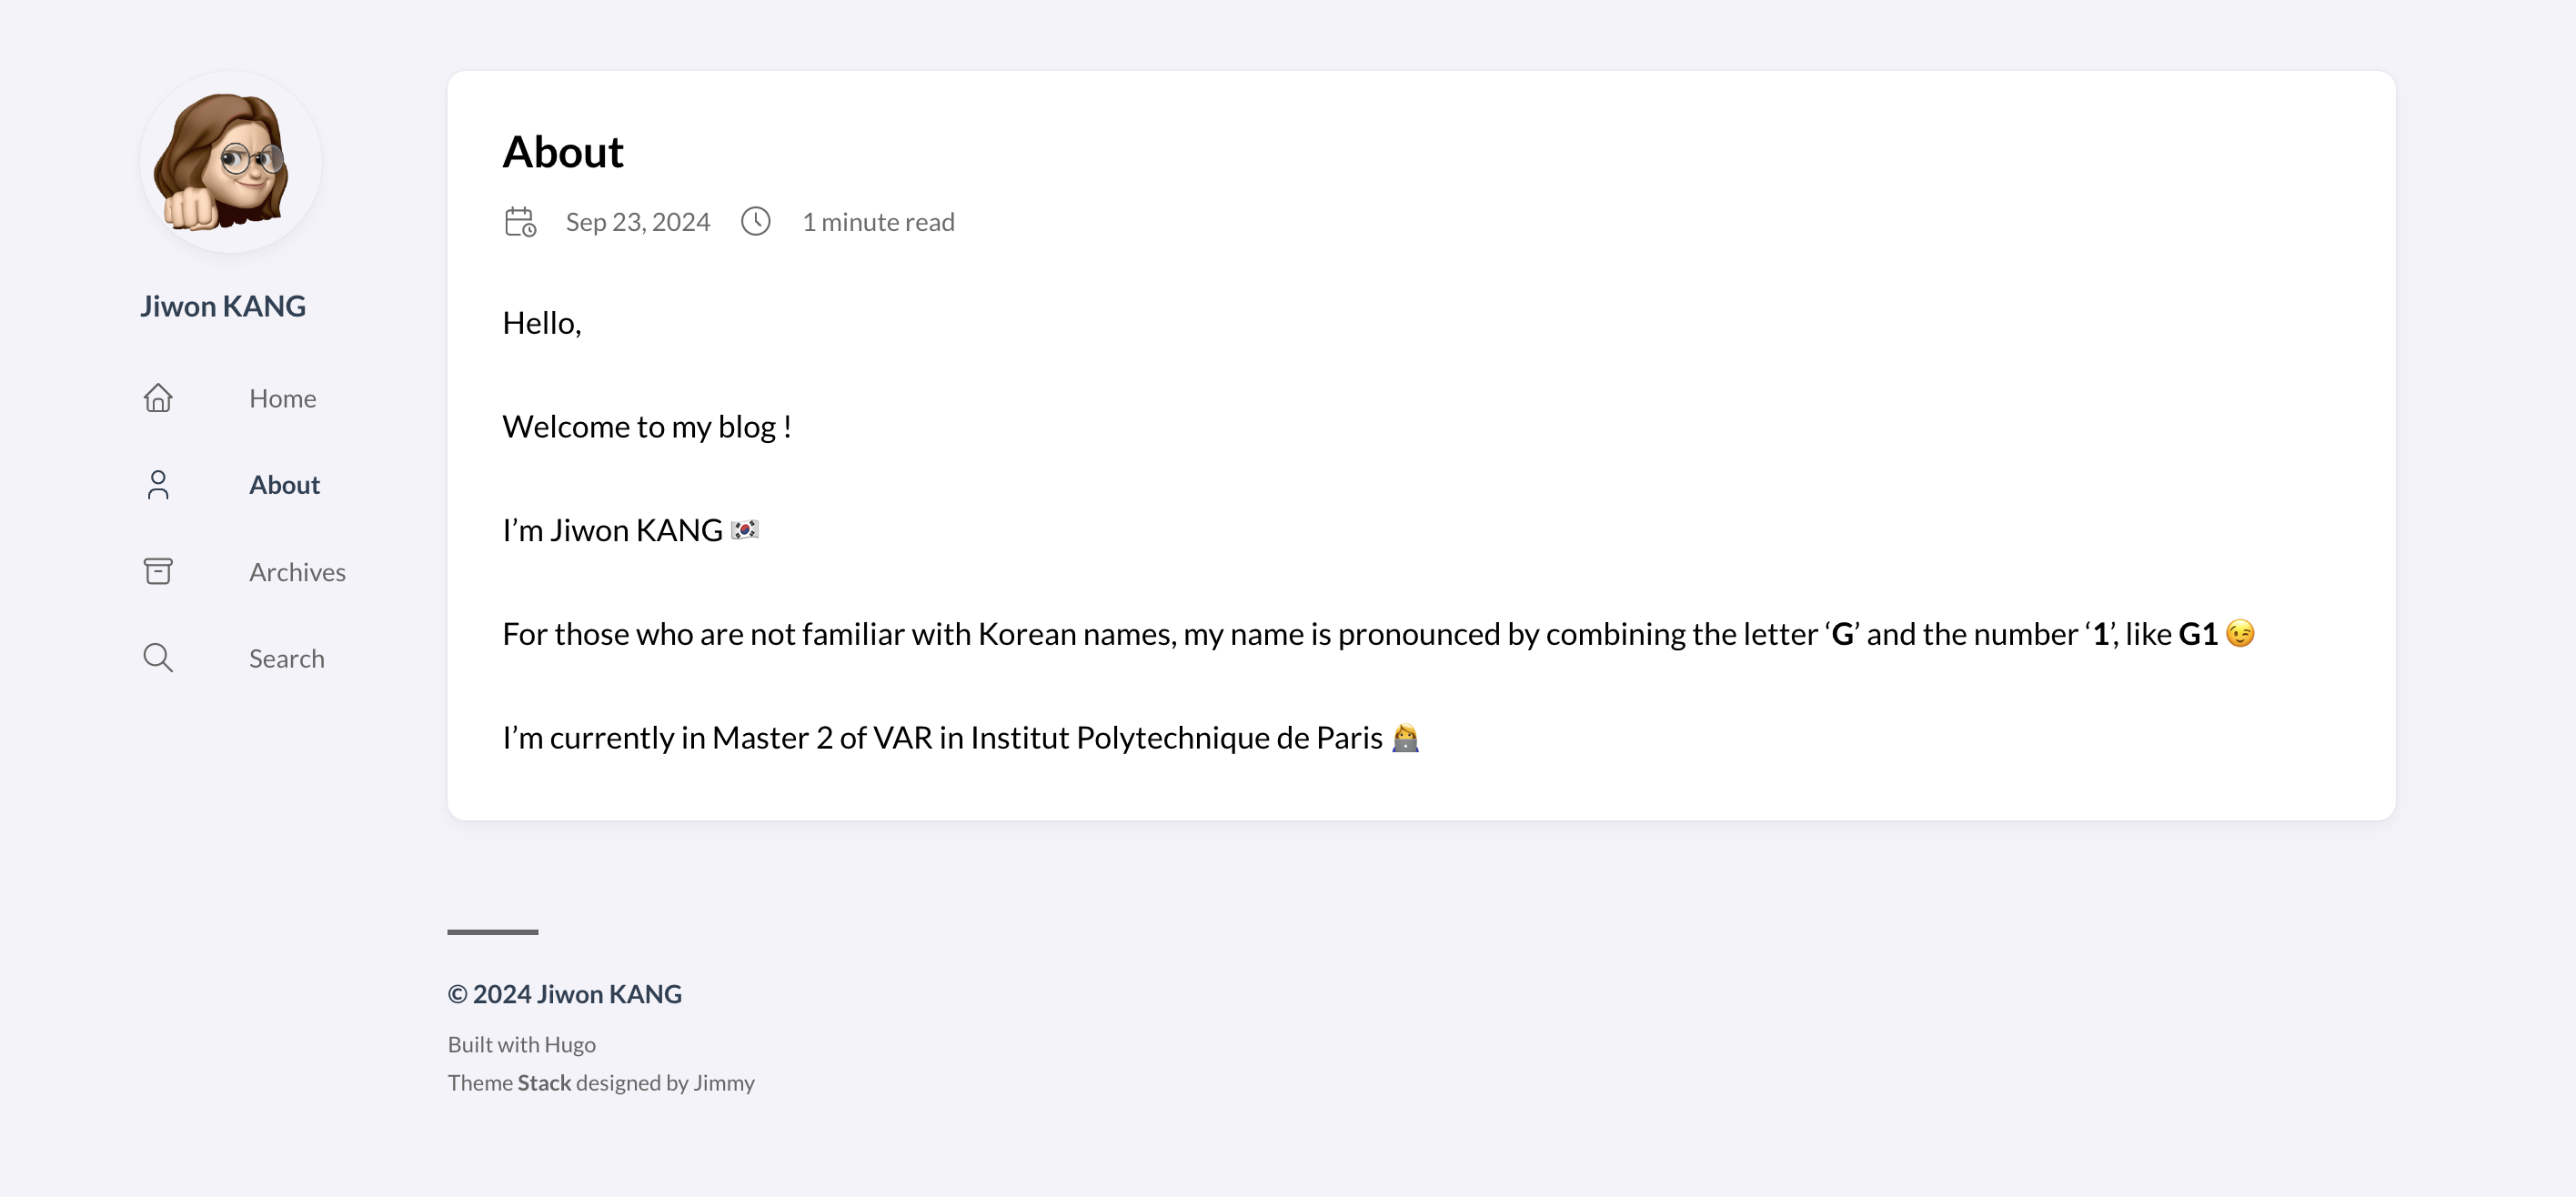
Voilà ! Now you have a fully functioning personal blog!