
Today, I’ll show you the process of setting up Unity on a MacBook 💻.
Step 1: Sign Up for a Unity Account
To start using Unity, you’ll need to create an account. You can sign up on the Unity website.
Once your account is created, you will have access to Unity Hub.
Step 2: Verify Student Status for Unity Education License
Unity offers free premium access to students through the Unity Student Plan. Follow these steps to verify your student status:
Go to the Unity Student Plan page.
Click on Free Access: Post-Secondary.
Log in with the Unity account you created earlier. (I used my personal Google account for registration but verified my student status using my school email.) During the verification process, you will need to provide your school information and expected graduation year.
After verification, you will receive a completion email. Click on Redeem my Student plan to finalize the process. Make sure to log in using the same email you used to sign up, not your school email.
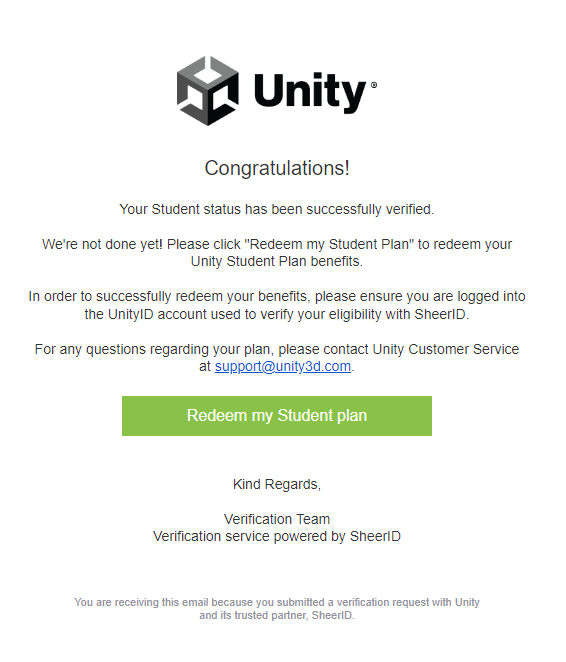
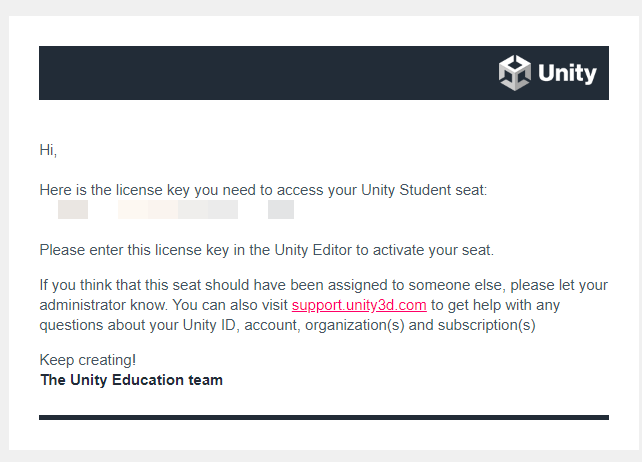
You will receive a license key via email, which you will use during the Unity installation process.
Step 3: Install Unity Hub
Unity Hub is a central application for managing Unity installations, projects, and licenses. Here’s how to install Unity Hub on your MacBook:
Visit the Unity Hub download page.
Download and install Unity Hub for macOS.
Once installed, open Unity Hub and log in with your Unity account.
Now you need to add a license. Click on Preferences in Unity Hub.

In the menu on the left, go to Licenses and click Add. Select Activate with serial number, then enter the license key you received via email.
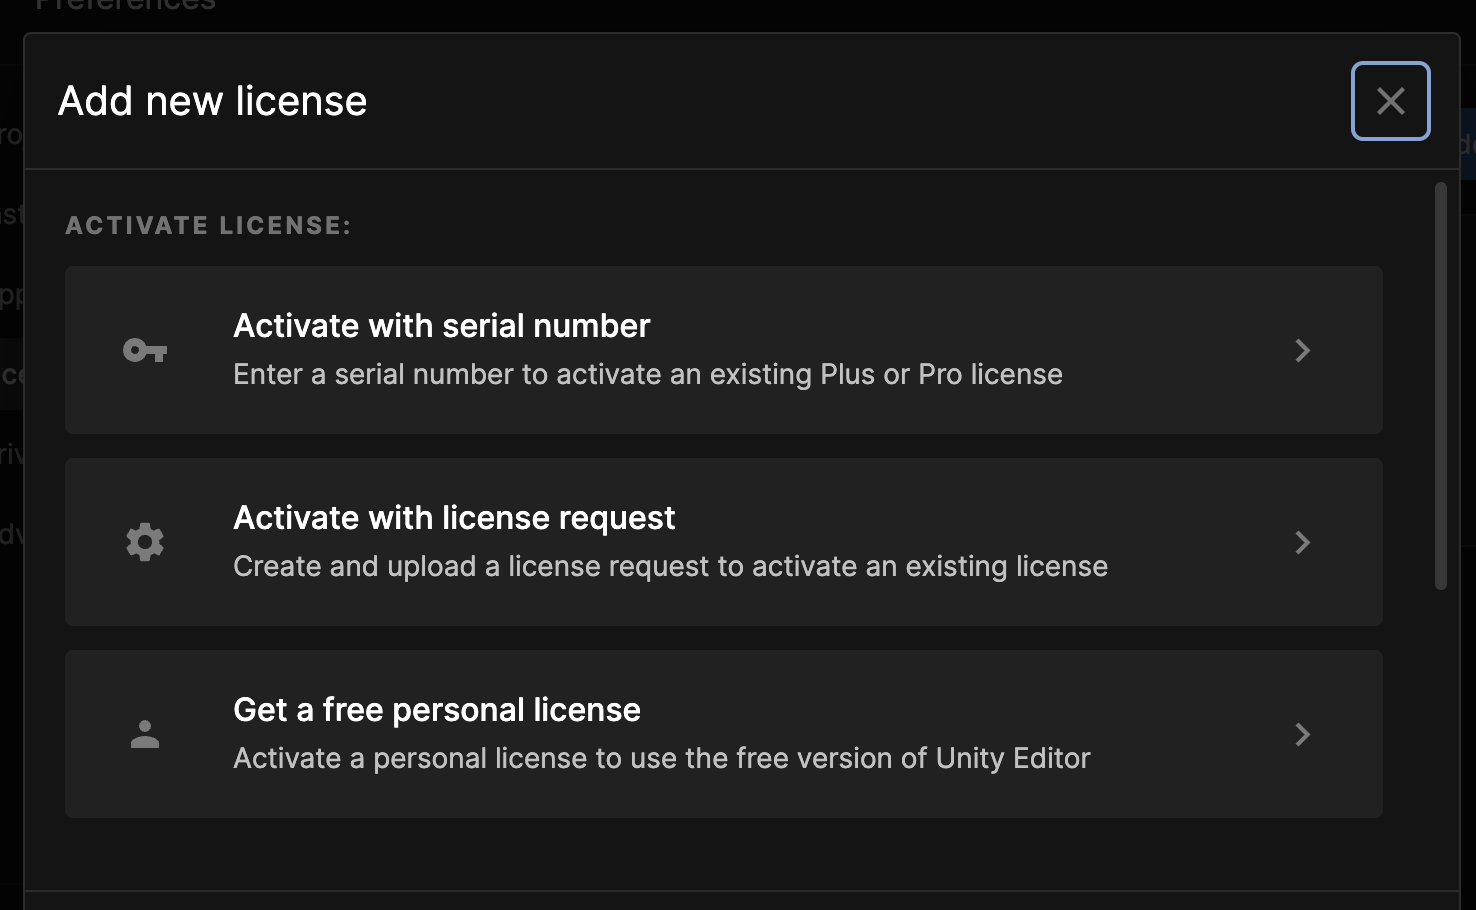
Your license, which grants one year of access to Unity, will now be active.

Step 4: Install a Specific Version of Unity
For my HCI classes, I need to use a specific version of Unity rather than the latest one. Here’s how you can install a different version:
Open Unity Hub.
Go to the Installs tab.
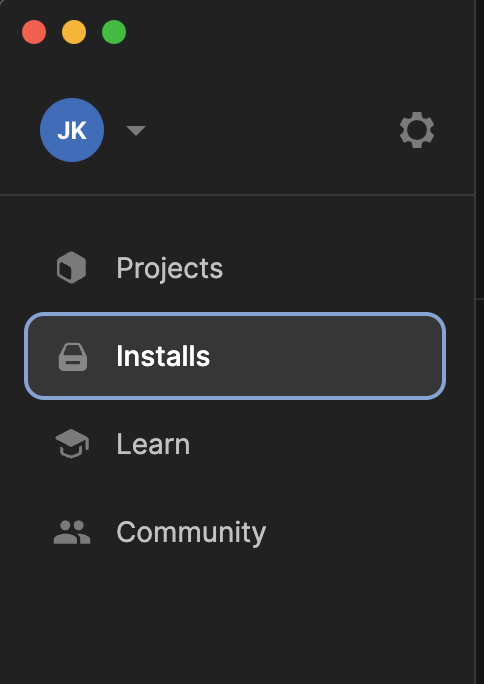
Click on Install Editor to install a new Unity Editor version.
In the Choose a version section, select Archive from the dropdown to see older versions of Unity.
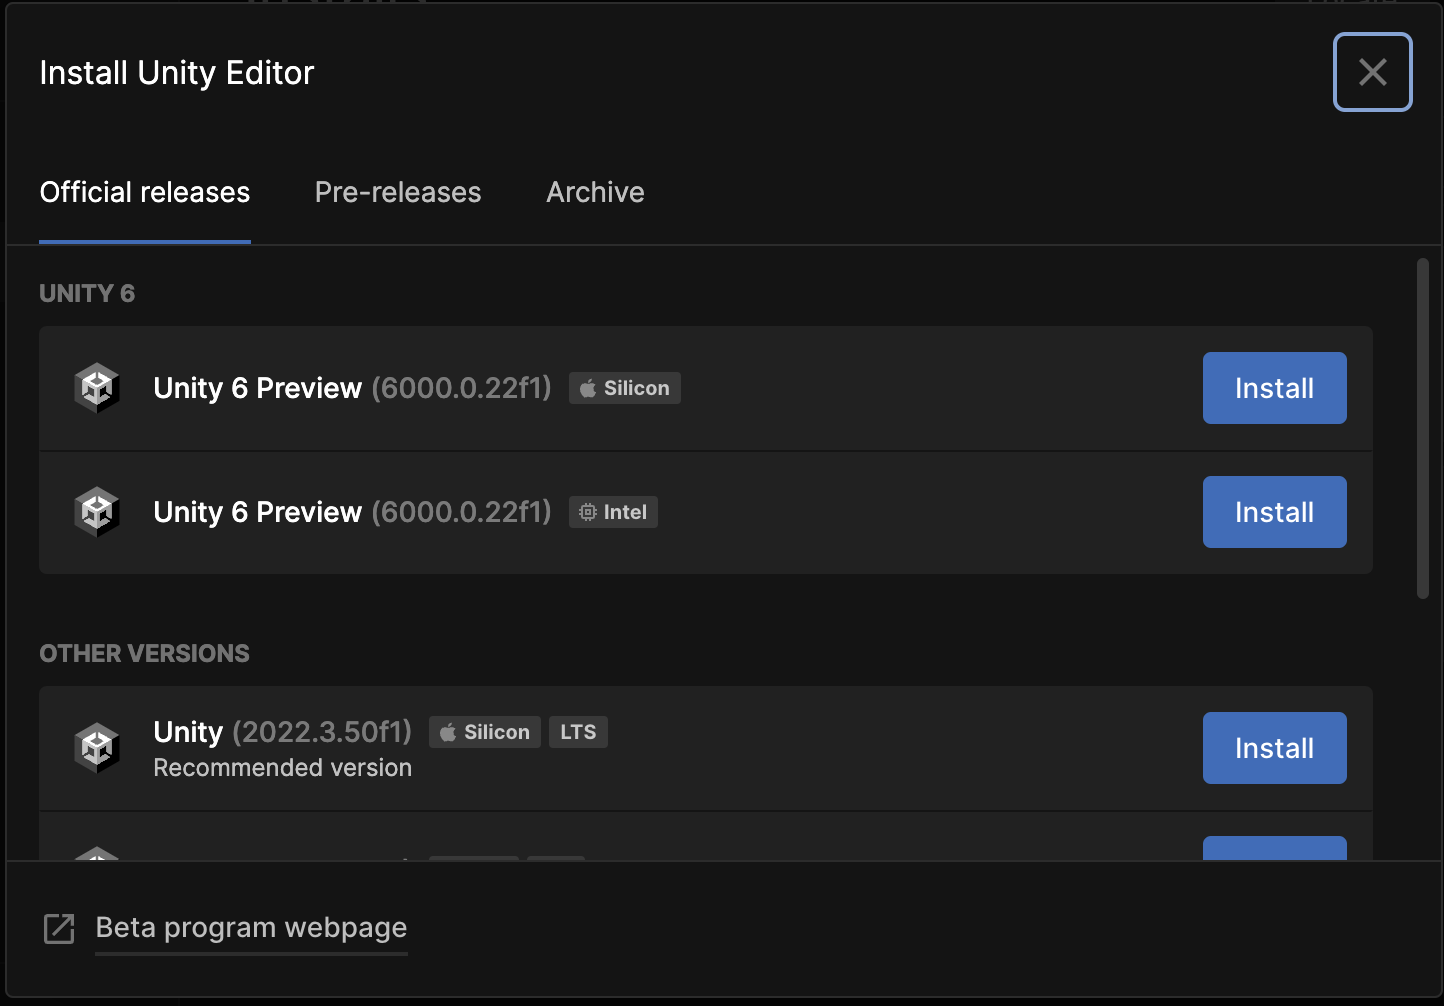
Select the required version for your class or project.
Choose the platform modules you need (such as iOS, Android, WebGL, etc.).
Click Next, and Unity will begin installing the selected version.
Step 5: Set Up Your First Unity Project
Once Unity is installed, you can create your first project:
Open Unity Hub and go to the Projects tab. Click New Project.

Select a template (e.g., 2D, 3D, etc.) based on the type of project you want to build. Name your project and choose a location for it.
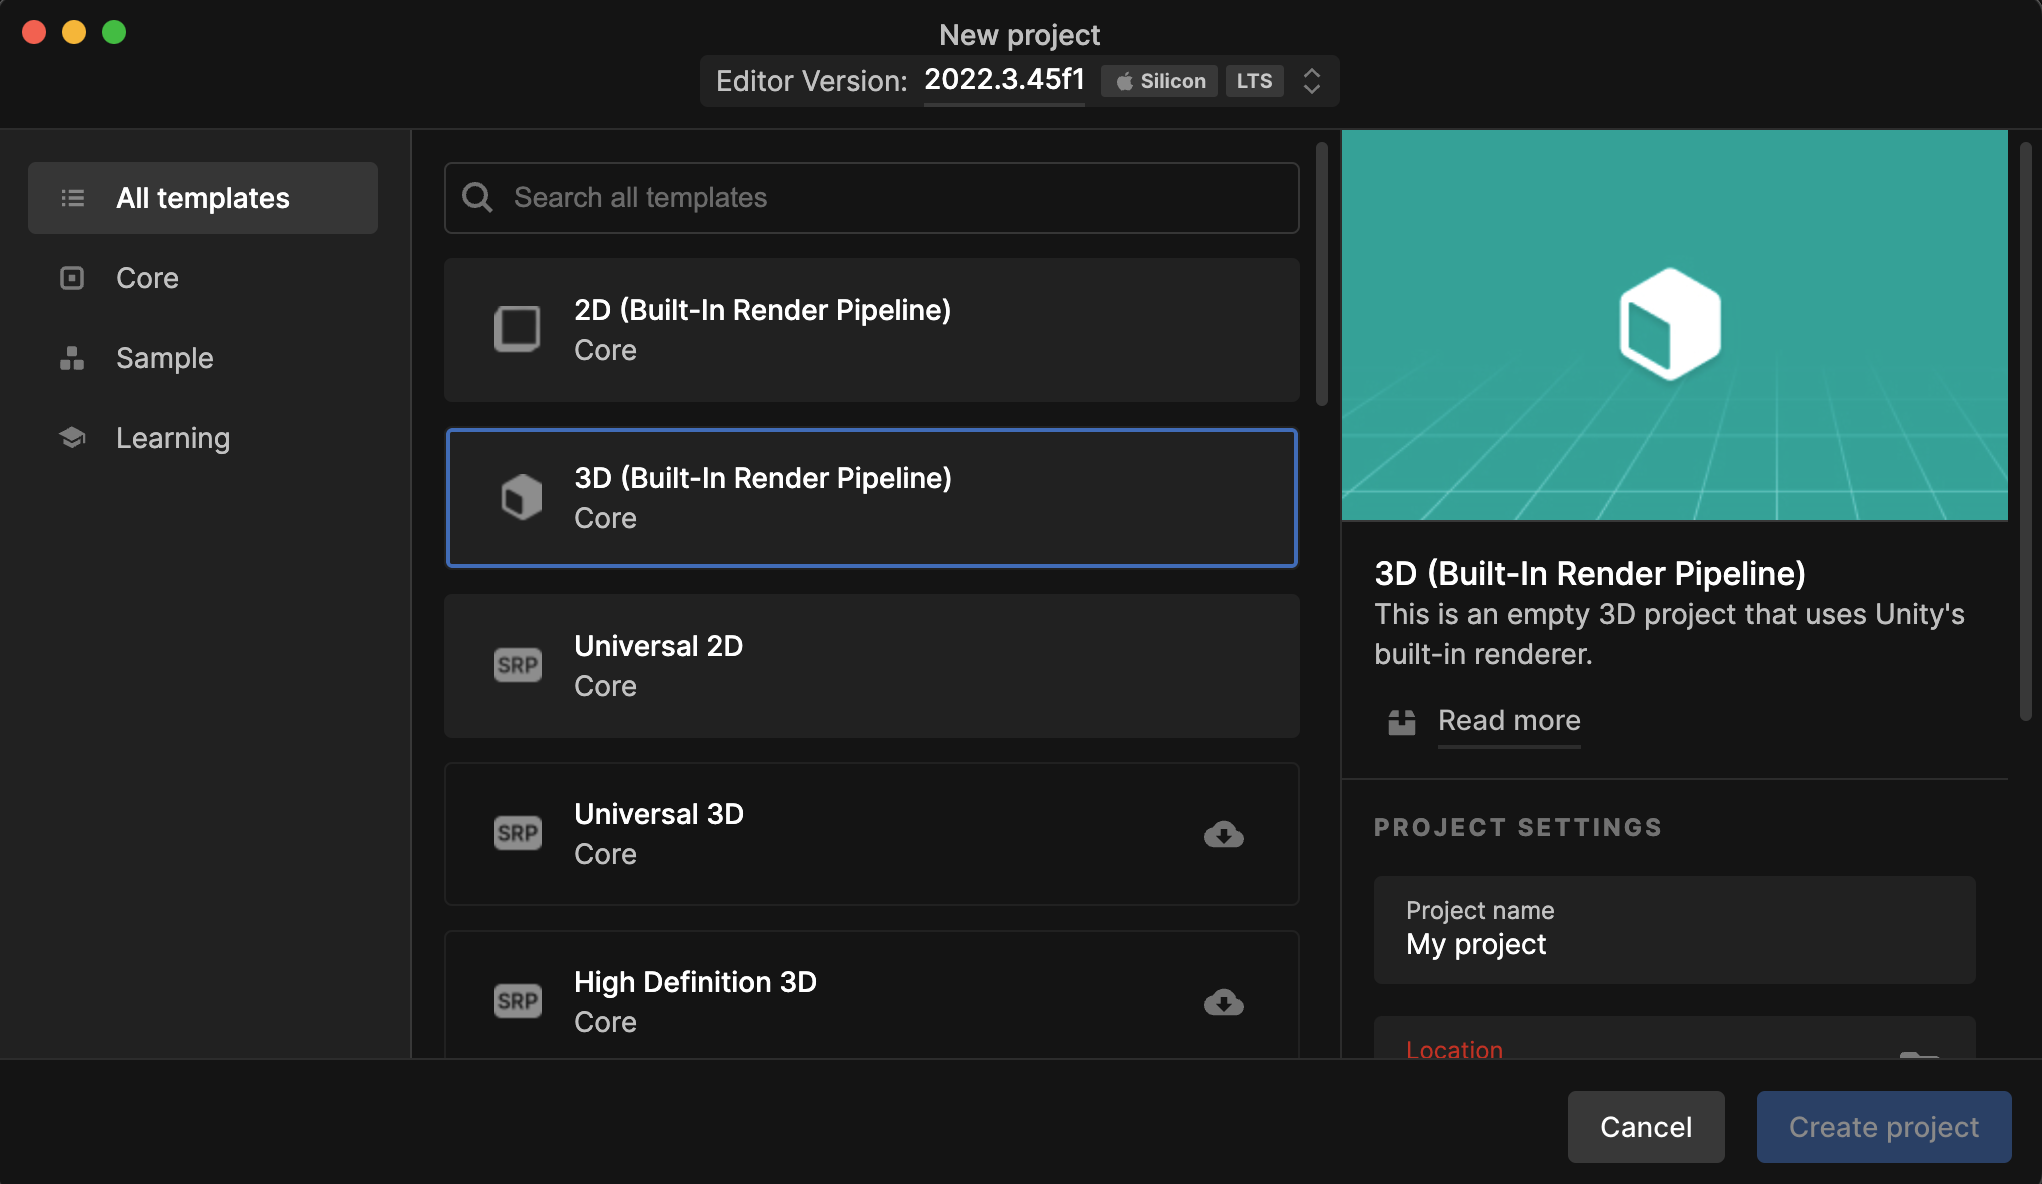
Click Create.
Unity will set up the project, and you’ll be taken to the Unity Editor where you can start developing.
Voilà !
Good luck, and enjoy building with Unity!